Did you know over 70% of commercial buildings in the U.S. have flat roofs? Torch down roofing, also known as modified bitumen roofing, is a top pick. It’s durable, water-resistant, and saves energy. If you’re thinking about a flat roof for your home or business, knowing how to install it is key.
In this detailed guide, we’ll show you how to install a torch down roof. We’ll cover everything from the materials and tools you’ll need to ensuring a safe and successful job. Whether you’re a roofing pro or a DIY fan, this article will give you the know-how for your next flat roof project.
Key Takeaways
- Torch down roofing is ideal for flat and low-slope roofs
- Modified bitumen membranes create a watertight seal
- Proper safety precautions are essential during installation
- Professional installation is recommended due to fire hazards
- Regular maintenance can extend the lifespan of your torch down roof
Understanding Torch Down Roofing
Torch down roofing is a popular choice for flat roofs. It’s favored by homeowners and contractors. This system is great for low-slope roofs because of its benefits.
What Is Torch Down Roofing?
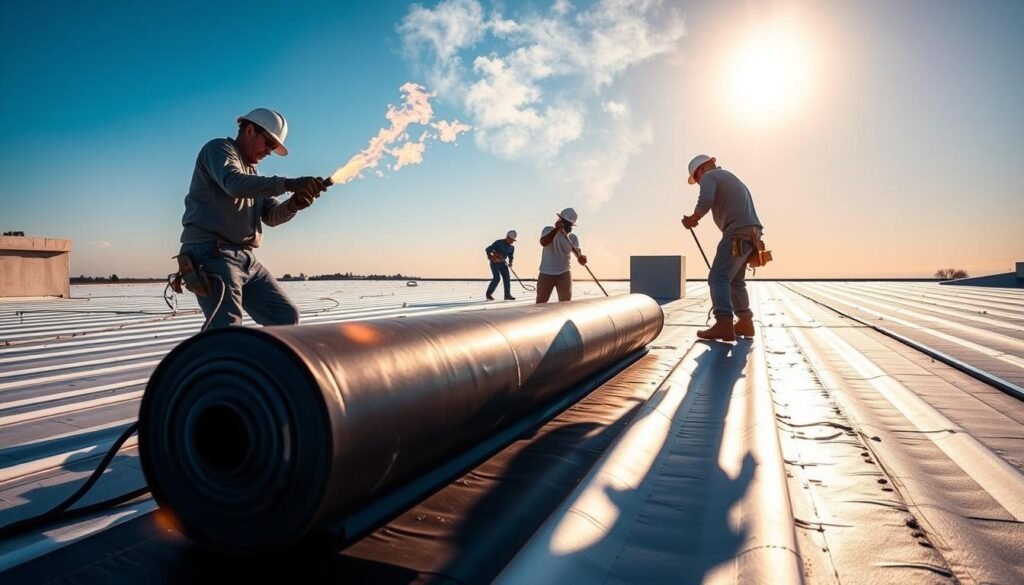
Torch down roofing uses rolled sheets made of layers. Each sheet has a special film, modified bitumen, polyester, and sometimes a mineral surface. The sheets are heated with a torch to create a waterproof roof.

Benefits of Torch Down Roofing
This roofing is very good at keeping water out. The modified bitumen membranes stop moisture, keeping your roof dry for years. It also stays flexible in different temperatures, without cracking.
It’s also very durable and long-lasting. The mineral surface helps keep your roof cool by reflecting sunlight. Plus, it’s fire-resistant and has fewer harmful fumes during installation. Fixing it is easy, too, without needing a whole new roof.
Common Uses for Torch Down Roofs
Torch down roofing is perfect for flat or low-slope roofs. It’s great for commercial buildings, apartments, and homes with flat roofs. It’s reliable in rainy, snowy, or humid areas.
Preparing for the Installation
Before starting your torch down roof installation, make sure you have everything you need. This will make the process easier and avoid any last-minute issues.
Tools and Materials You Will Need
Here’s a list of tools and materials you’ll need:
- Propane torch
- Roofing trowel
- Gloves and safety glasses
- Roofing primer
- Roofing cement
- Torch down roofing rolls
- Utility knife
- Measuring tape
- Broom and scraper for roof preparation
Assessing Your Roof Structure
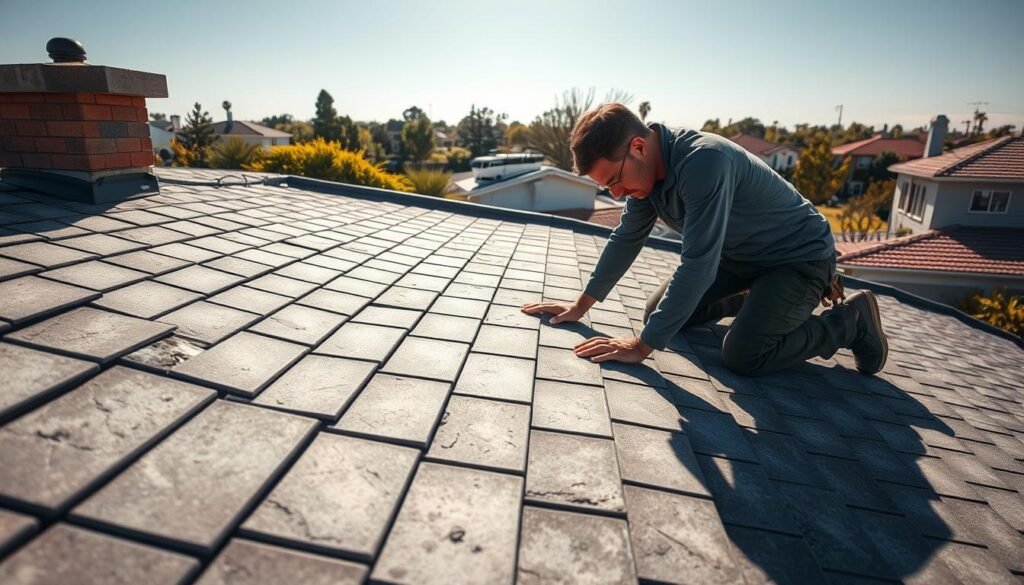
First, inspect your roof carefully. Make sure it slopes at least 1/4:12. Replace any damaged or rotting wood to ensure a solid base for your new roof.

Safety Precautions to Consider
Working with fire and hot materials is dangerous. Always follow the torch’s instructions and take these safety steps:
| Safety Gear | Purpose |
|---|---|
| Gloves | Protect hands from heat and sharp edges |
| Safety glasses | Shield eyes from debris and glare |
| Long sleeves and pants | Cover skin to prevent burns |
| Fire extinguisher | Have on hand in case of emergencies |
Also, check your propane torch for leaks before using it. Never leave it alone. Proper roof prep, like cleaning and priming, is key for a safe, lasting roof.
The Installation Process
Installing torch down roofing is doable for those with DIY skills. It’s all about knowing the right steps and staying safe.
Step-by-Step Installation Guide
Start by attaching insulation and laying down a vapor barrier and overlay board. Then, apply the base sheet and cap sheets. Use a propane torch to melt and seal the material.
Make sure the sheets overlap by 3 inches on the sides and 6 inches on the ends. This ensures strong roofing adhesion. When heating, look for a slight sheen; too much smoke means it’s too hot.
Be careful with the roofing seams. Check and reseal them with at least 3/8″ of bitumen flow.
Important Final Touches
To finish your roof, add roof flashing around vents or HVAC units. Apply granules to the seams for extra protection. You can also add a reflective coating for better UV protection.
By following these steps and focusing on the details, you’ll get a roof that lasts. It will keep your home safe and dry for many years.
