Did you know that over 80% of roof leaks are caused by bad installation or low-quality materials? Choosing the right waterproofing underlayment is key to protecting your home. Torch down underlayment is a top pick for roofers because it’s durable and stops moisture buildup. This guide will show you how to install torch down underlayment like a pro, with tips from Local Roofer Pros.
Key Takeaways:
- Torch down underlayment contains modified bitumen for superior waterproofing
- Proper installation requires experience and safety precautions
- Essential steps include preparing the roof surface, attaching fiberglass mesh and drip edge flashing, and applying bitumen primer
- Wear protective gear when heating and pressing bitumen sheets
- Consult with Local Roofer Pros for expert guidance and quality roofing materials
Understanding Torch Down Underlayment
Reliable roofing services depend on knowing the materials and methods used. Torch down underlayment is a key layer that keeps your roof dry and safe. Let’s explore what torch down underlayment is and how it helps your roof.

What is Torch Down Underlayment?
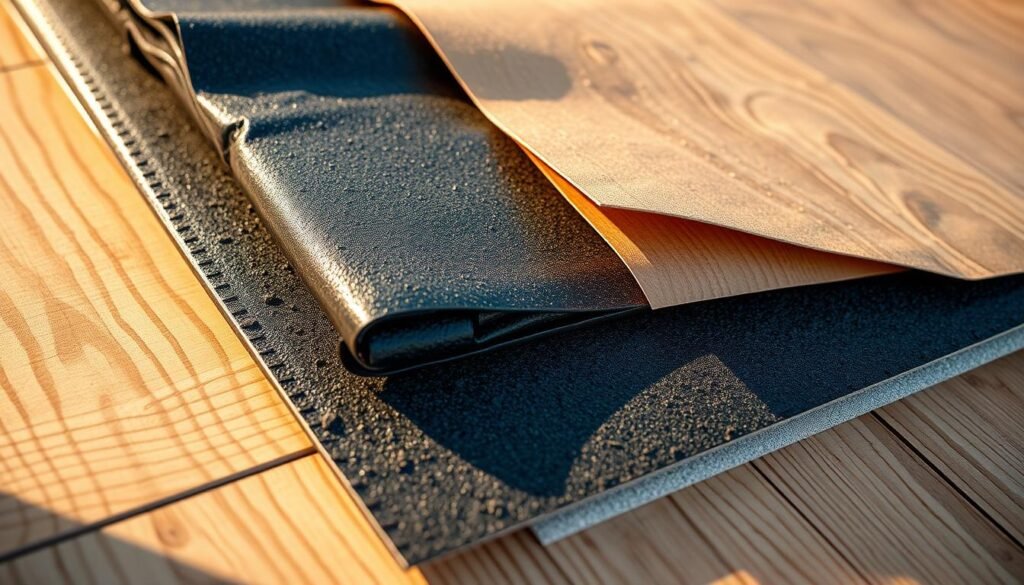
Torch down underlayment is a special roofing material. It’s made from asphalt-soaked organic felt or fiberglass mat. A layer of polymer-modified bitumen is added for extra strength.
The installation involves heating the underlayment with a propane torch. This makes it stick well to the roof deck.
Advantages of Using Torch Down Underlayment
Using torch down underlayment has many benefits:
- It’s stronger and less prone to wrinkling than other underlayments.
- It’s great at keeping water out, preventing moisture from getting in.
- It protects against ice dams and rain pushed by the wind.
- It lasts a long time, giving your roof long-lasting protection.
Applications in Roofing Projects
Torch down underlayment works well for specific roofing needs:
- It’s perfect for low-slope roofs, where water needs to drain well.
- It’s great around roof penetrations, like vents and chimneys, for extra waterproofing.
- In roof valleys, where water tends to gather and flow.
When installed by skilled pros using the right underlayment application techniques, torch down underlayment offers lasting roof protection. It’s important to choose trusted torch down underlayment suppliers and contractors who are experts in torch-on installation for the best results.
Essential Tools and Materials Needed
Before starting your roof repair, make sure you have all the tools and materials ready. The right equipment makes the installation smooth and efficient. This way, you get a roof that lasts a long time.
Must-Have Tools for Installation
To install waterproofing underlayment, you need a few key tools:
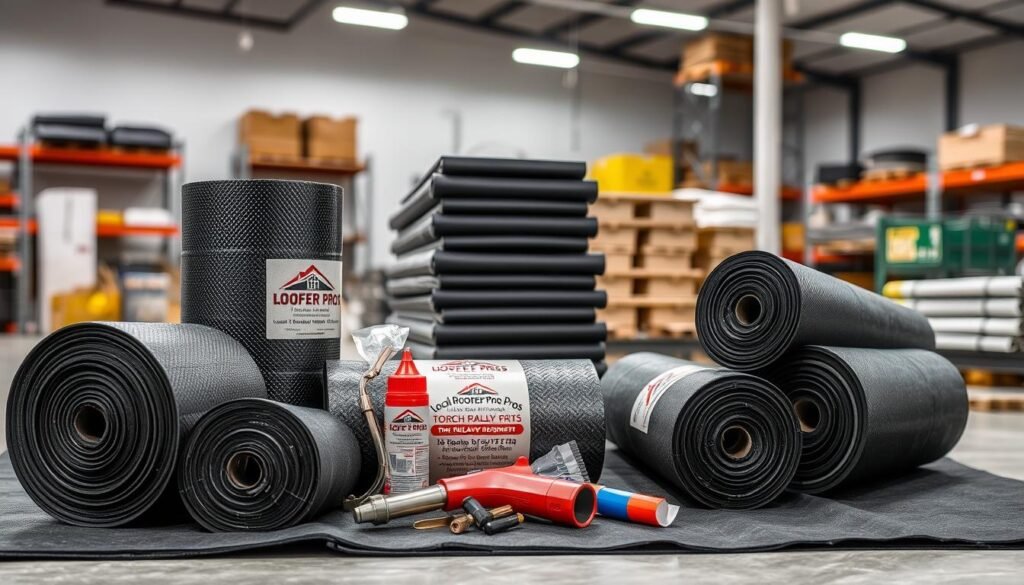
- Propane torch
- Claw hammer
- Utility knife
- Measuring tape
- Chalk line
These tools help you measure, cut, and secure the underlayment. This ensures a precise and professional job.
Recommended Materials for Torch Down Underlayment
Choose high-quality materials for your torch down underlayment. Look for:
- Polymer-modified bitumen rolls with fiberglass for strength and stability
- Compatible primer for better adhesion
- Cap nails or tin caps for securing edges and overlaps

Quality materials mean a long-lasting, water-resistant roof. This protects your home from the weather.
Safety Equipment to Consider
Working with open flames requires safety. Always wear:
- Heat-resistant gloves
- Safety glasses
- Long-sleeved shirts and pants
- Sturdy, closed-toe boots
Also, have a fire extinguisher nearby. This way, you can work safely and confidently on your roof.
Step-by-Step Installation Guide
Installing torch down underlayment needs careful preparation and detail. To get a watertight and durable roof, follow these steps. Check out this guide on torch-on installation.
Preparing the Roof Surface
Before you start, make sure the roof is ready. Remove old roofing, fix any damage, and clean it well. Add drip edge flashing and prime the surface for better adhesion.
Applying the Torch Down Underlayment
When the roof is ready, lay out the underlayment. Start at the bottom and roll it out. Overlap each section by 3-4 inches for full coverage. Use a roofing torch to heat and stick the underlayment to the roof.
| Overlap | Torch Temperature | Pressing Time |
|---|---|---|
| 3-4 inches | 1,000-1,200°F | 5-10 seconds |
Always be safe when using a roofing torch. Follow the right techniques to avoid accidents and damage.
Finishing Touches and Quality Checks
After installing, seal all edges and laps for a watertight roof. Check for wrinkles, gaps, or damage. Fix any issues before adding shingles or other materials.
For top results, hire local roofing experts. They know how to install torch down underlayment right. Their skills ensure a roof that lasts.
FAQ About Torch Down Underlayment
Many people have questions about torch down underlayment for roofing projects. We offer reliable roofing services and aim to answer these questions. This way, your roof is installed right and lasts a long time.
How long does torch down underlayment last?
Torch down underlayment is known for its long life. When installed by experts, it can last 20 to 30 years or more. It’s strong and doesn’t wrinkle or tear easily, keeping your roof safe.
For your underlayment to last, get regular checks from a trusted roofer. They can spot problems early and fix them fast. This keeps your roof in top shape for years.
