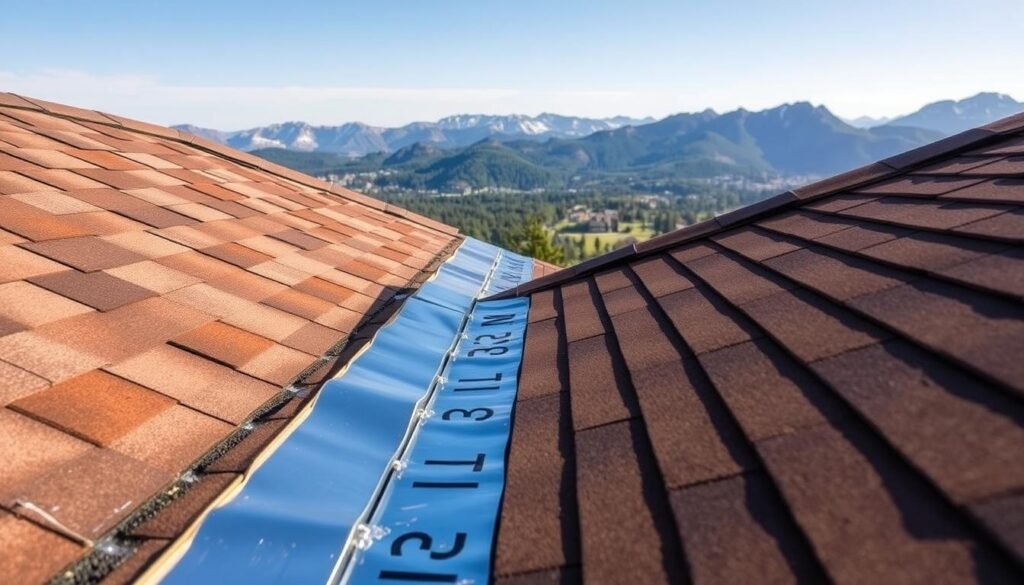
Did you know that over 90% of roof leaks happen in the valleys? This shows how vital shingle roof valley flashing is to keep your home dry. Whether you’re a DIY fan or working with local roofing contractors, knowing how to install roof valleys is key.
Valley flashing is like a waterproof tunnel that keeps water away from where two roof planes meet. Without it, your roof can leak, rot, and need expensive fixes. This guide will help you install new flashing or fix old ones, making your roof valley watertight and lasting.
Local Roofer Pros say valley flashing should be at least 24 inches wide to follow building codes. It’s available in finishes like charcoal, brown, white, and galvanized. These finishes are not only good-looking but also durable, lasting over 50 years if installed right.
Key Takeaways
- Proper valley flashing installation is key to avoid leaks and water damage
- Valley flashing should be at least 24 inches wide to meet building codes
- Flashing comes in various finishes and can last over 50 years when installed correctly
- Install underlayment and ice and water shield before placing valley flashing
- Follow the step-by-step guide to ensure a watertight and long-lasting roof valley
Understanding the Importance of Valley Flashing
Valley flashing is key to keeping your shingle roof safe from water damage. If you’re thinking about replacing your valley metal flashing, knowing its importance is vital. Trusted roofing experts always suggest it for good reasons.

What is Valley Flashing?
Valley flashing is a thin metal strip placed in your roof’s valleys. These are where two sloping parts meet. They’re at risk of water getting in because they collect water from a big area of your roof.
The flashing stops water from getting into the valley. It directs water into your gutters, keeping your home dry and safe from leaks and damage.
Why is Valley Flashing Critical for Your Roof?
Without valley flashing, water can get under your shingles. This can cause rot, mold, and harm to your roof’s structure. It can also lead to expensive repairs and weaken your roof’s overall strength.
By choosing quality valley flashing and keeping up with roof maintenance, you can make your roof last longer. This protects your home from water damage.
When looking for “professional roofers near me,” pick someone who knows how important valley flashing is. A good roofer will make sure your flashing works well with your shingles. This creates a strong barrier against water.
Tools and Materials Needed for Installation
Before starting your residential roof repair project, make sure you have the right tools and materials. This will help you install valley flashing successfully. The right equipment ensures a smooth process and quality roofing solutions that last.
Essential Tools for the Job
For valley flashing installation, you’ll need a few important tools:
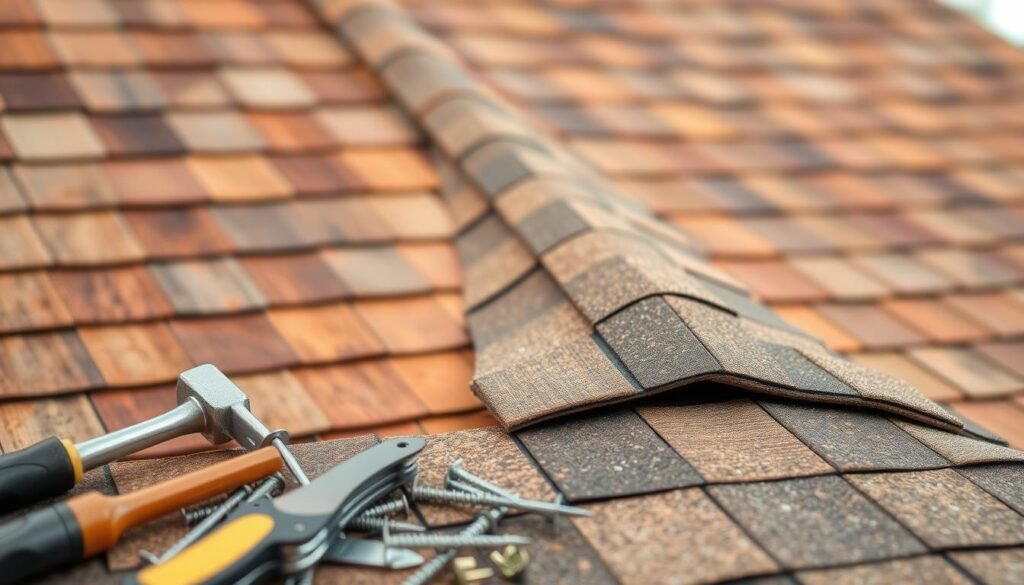
- Tin snips for cutting the flashing material
- Circular saw for precise cuts on the shingles
- Roofing nailer to secure the flashing and shingles
- Hammer for removing old nails and roofing materials
- Pry bar to lift and remove any damaged or worn-out shingles

Recommended Flashing Materials
There are many flashing materials to choose from. Galvanized steel is popular for its durability and affordability. But, copper, aluminum, and stainless steel are also good options. Each has its own benefits and looks.
| Flashing Type | Purpose |
|---|---|
| W-Valley Flashing | Used in the valleys where two roof slopes meet |
| Step Flashing | Installed along the sides of chimneys and walls |
| Corner Flashing | Used to seal the corners of chimneys and other protrusions |
Additional Supplies You May Need
You’ll also need some extra supplies for the job. Roofing nails are key for securing everything. Sealants, like acrylic or silicone, are vital for a watertight seal. As a Local Roofer Pro, picking a good sealant is important for lasting protection.
A well-prepared roofer is a successful roofer. Having the right tools and materials on hand can make all the difference in the quality and efficiency of your valley flashing installation.
By preparing with the right tools and materials, you’re ready to tackle your valley flashing project. This ensures a strong and reliable roof for your home’s protection for years.
Step-by-Step Guide to Installing Valley Flashing
Protecting your home from water damage is key. Valley metal flashing replacement is essential. This guide will help you install valley flashing on your shingle roof. It ensures your roof stays leak-free and protected from moisture.
Preparing the Roof for Flashing
Start by getting your roof ready for flashing. First, put underlayment and ice and water shield in the valley area. This adds extra protection. Make sure the roof is clean, dry, and free of debris for the flashing to stick well.
Installing the Valley Flashing
Now, install the valley flashing. Place it in the valley, leaving 2-3 inches overhang at the bottom. Secure it by nailing the outer edges at 12-inch intervals. Leave the center area nail-free for expansion and contraction.
When putting on shingles, keep a 1.5-3 inch gap from the valley’s center. This helps water flow right. Make sure shingle edges meet the flashing’s outer edge for a tight seal. For long valleys, use a chalk line for a straight edge. Use fewer nails and seal any exposed ones to avoid leaks.
While you can try installing roof valley yourself, hiring pros is better. Shingle Roof Valley Flashing Local Roofer Pros can do it right. They ensure your valley flashing works well, protecting your home for years.
